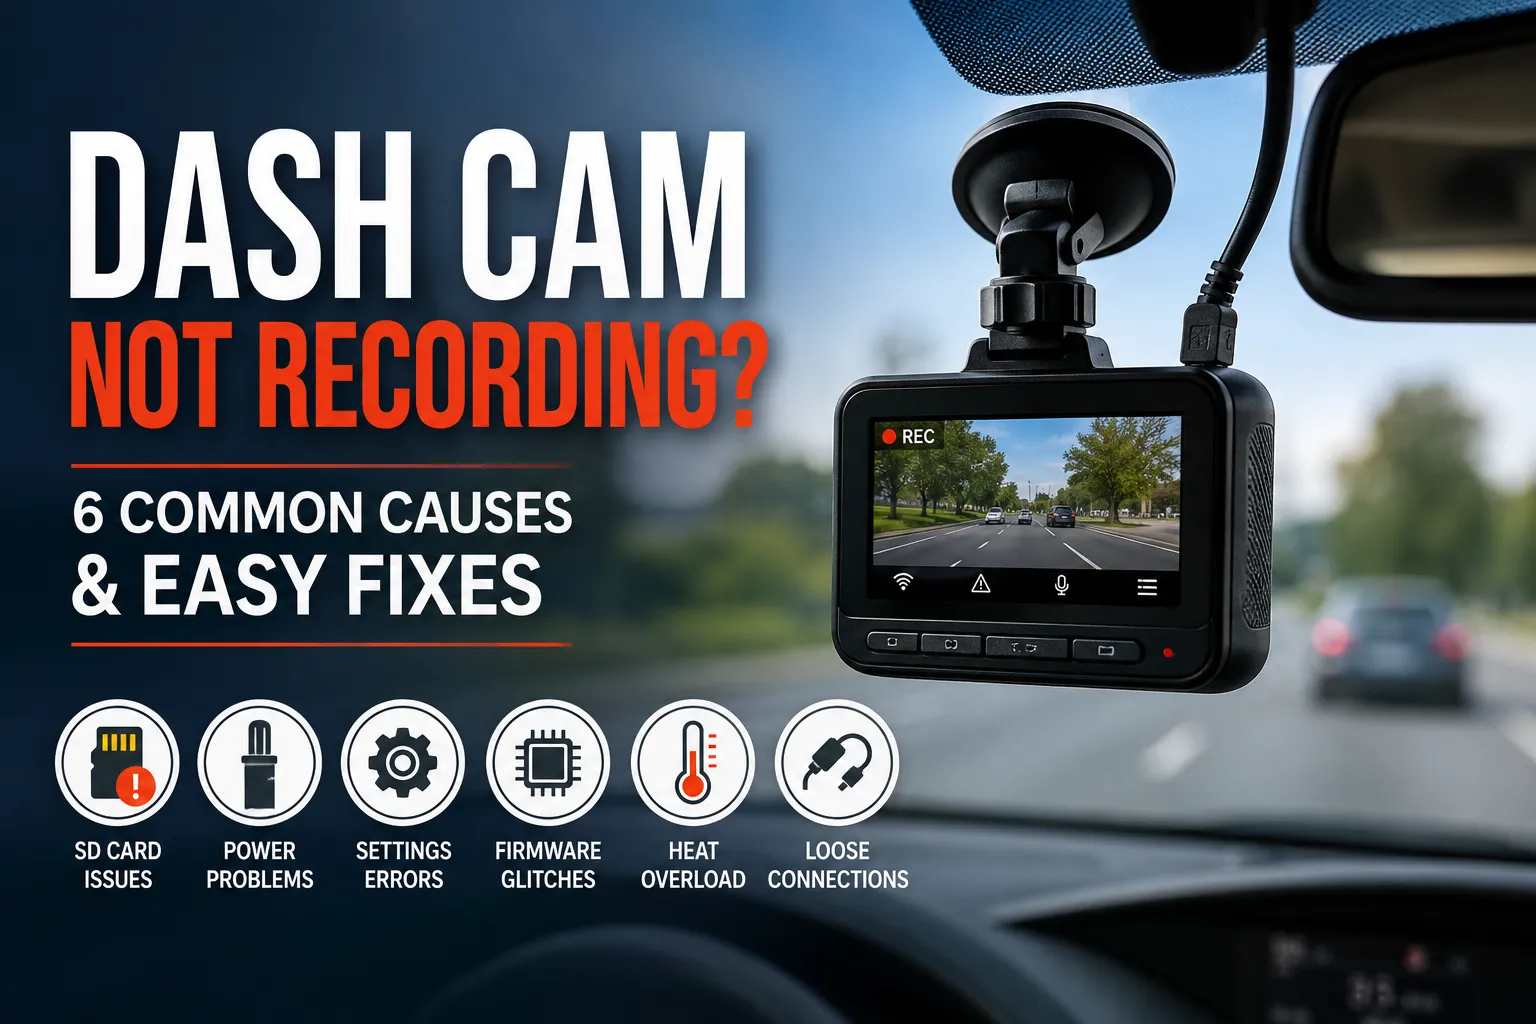




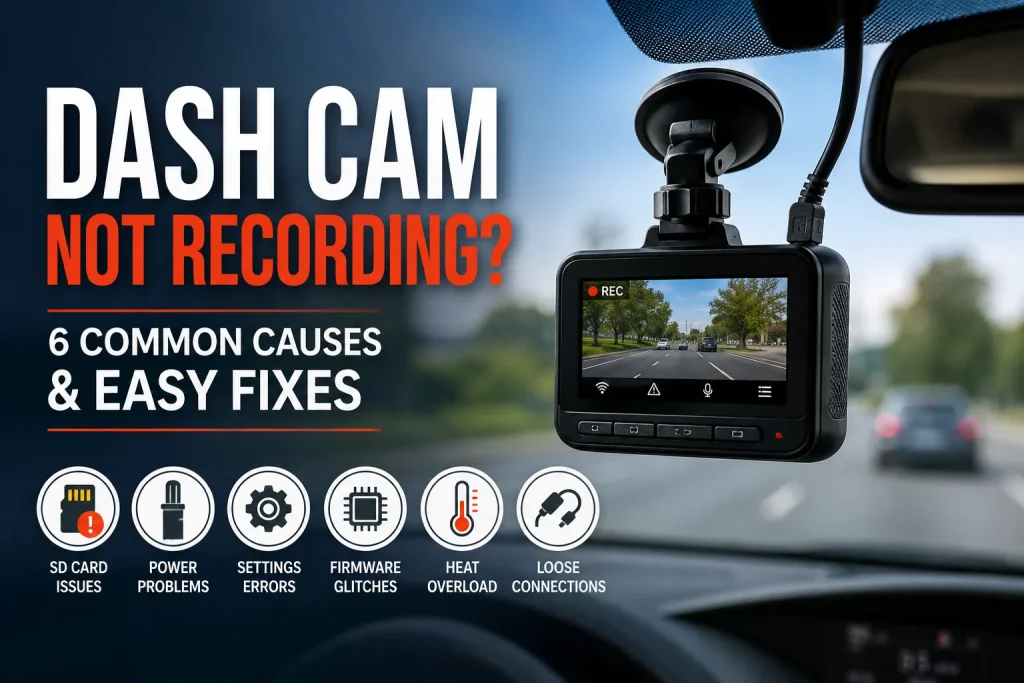
Dash cam not recording? The problem is usually linked to the SD card, power supply, recording settings, firmware or excessive heat. Most issues can be checked at home before you replace the camera or book a repair.
Maybe the camera appears to be working, but the footage is missing. It might keep restarting, show a black screen or stop saving video after a few minutes.
The six checks below cover the most common causes and what you can do to get your dash cam recording again.
Quick Troubleshooting Checklist Before You Begin
Before changing settings or removing any trim, start with a few simple checks:
- Check the indicator lights. Look for the normal recording light or icon. If you see a black screen or an error message, note what it says.
- Listen for startup sounds. A missing or unusual chime can point to a startup problem.
- Check the power connection. Make sure the plug is secure in the 12V socket, USB adapter or hardwire kit.
- Check the rear camera. If you have a front and rear system, make sure the rear camera cable has not worked loose.
- Reset the camera. Use the reset button if your model has one. This can clear a temporary software problem.
- Read any card warnings. Messages such as “Card Error”, “Slow Card” or “Format Card” often point to memory card errors.
- Check the Wi-Fi connection. If your dash cam uses an app, reconnect the camera and check whether its settings and saved clips are available.
Reset procedures vary between models, so check your manufacturer’s instructions before changing factory settings. For example, the dash cam manual explains how its Wi-Fi, reset and memory card functions work.
If the camera starts recording again after one of these checks, take a short test drive. Then review the new video files to make sure the problem has actually been fixed.
Cause 1: SD Card or MicroSD Card Problems
Why It Happens
A dash cam writes data to its memory card every time you drive. It also removes older footage as part of loop recording. This puts much more pressure on a card than occasional use in a phone or digital camera.
Over time, an SD card or microSD card can slow down, develop bad sectors or become corrupted. A low-quality card may fail sooner. The result can be missing footage, frozen recordings, dropped frames or video files that will not open.
Card speed also matters. The SD Association explains video speed classes and the minimum sustained write speeds used for video recording. Your card should meet or exceed the requirements listed by your dash cam manufacturer.
The file system can cause problems too. Depending on the model and card capacity, a dash cam may use FAT32 or exFAT.
How to Fix It: Format or Replace the Card
Start by turning the dash cam off. Remove the memory card and inspect it for visible damage.
If the card looks fine, put it back into the camera and use the dash cam’s own format option where recommended by the manufacturer. Back up any footage you need first because formatting erases the card.
For more detail, see Seven Smart Auto’s guide on how to format an SD card for a dash cam.
If the camera still reports an error, test it with a known-good card that meets the required capacity and speed rating. Cards designed for continuous recording are usually a better choice for this type of use. SanDisk, for example, produces High Endurance microSD cards for continuous video recording applications.
If the replacement card works normally, the old memory card was likely the cause.
Cause 2: Power Supply Failure or Loose Connections
Why It Happens
Road vibration, heat and daily use can loosen power connections over time. A plug can look secure while still losing contact when the vehicle goes over bumps.
Other power issues can come from a worn USB cable, weak adapter, blown fuse or poor hardwire connection. In some cases, the problem is within the vehicle’s electrical system rather than the dash cam itself.
If the camera does not receive stable power, it may switch off, restart repeatedly or stop recording without warning.
How to Fix It: Test the Cable, Socket and Adapter
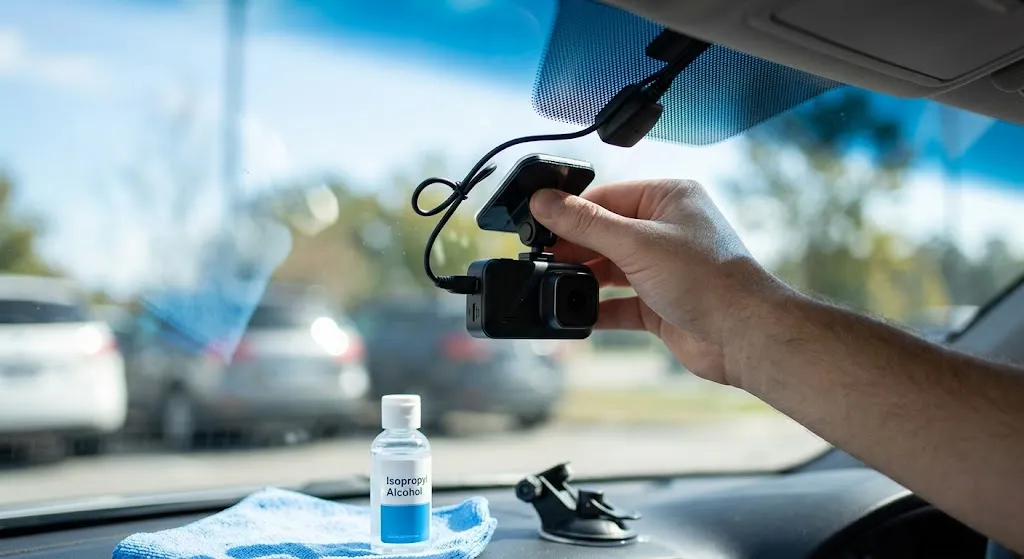
Start at the power source. Unplug the cable from the 12V socket or hardwired connection, then reconnect it firmly.
Check the cable for:
- cuts or crushed sections
- loose connectors
- bent plugs
- damaged USB ports
- signs of heat or wear
If the dash cam is hardwired, the fuse tap and earth connection should also be checked. A blown fuse or poor connection can prevent the camera from receiving reliable power.
If you are unsure how the wiring should be set up, Seven Smart Auto’s guide to installing a dash cam covers 12V power and hardwired installations.
You can also test the camera using a suitable wall charger and known-good cable. If it records normally away from the vehicle, the car’s power supply, adapter or hardwire kit becomes the more likely cause.
For a dual-camera setup, disconnect the rear camera and test the front camera on its own. If the problem stops, inspect the rear camera cable and connection.
Cause 3: Firmware Bugs or Outdated Firmware
Why It Happens
Dash cams use firmware to control recording, storage, Wi-Fi, buttons and other functions. Like other software, firmware can develop bugs or become unstable.
Outdated firmware can also cause compatibility problems with memory cards or certain settings. You might notice random restarts, failed recordings, a frozen screen or Wi-Fi that suddenly stops working.
How to Fix It: Check for Firmware Updates
Go to the manufacturer’s official support page and check whether a firmware update is available for your exact model.
Do not download firmware for a similar-looking model. The file needs to match your camera.
Manufacturers may use different update procedures. For example, VIOFO provides firmware downloads by dash cam model, along with model-specific update information.
A typical update may involve:
- Formatting the microSD card as directed by the manufacturer.
- Copying the firmware file to the card.
- Inserting the card while the dash cam is switched off.
- Connecting the camera to a stable power source.
- Turning the camera on and allowing the update to finish.
Never disconnect the power while firmware is being installed. An interrupted update can leave the camera unable to start correctly.
After the update, check your settings again. Some firmware updates reset the camera to factory settings.
Cause 4: Incorrect Loop Recording or Storage Settings
Why It Happens
Loop recording allows a dash cam to keep recording when its memory card becomes full. It does this by overwriting the oldest unprotected video files.
If loop recording is switched off, the camera may simply stop recording when there is no free storage left.
Incorrect settings can create similar problems. For example, long clip durations, unsupported recording modes or a large number of locked files may reduce the space available for normal recording.
Parking mode can also affect how storage is used. Some cameras protect parking events so they cannot be overwritten.
How to Fix It: Review Recording and Overwrite Settings
Open the dash cam’s settings menu or companion app and check that loop recording is switched on.
A one-minute or three-minute recording interval is a sensible starting point when troubleshooting. Shorter video files can also reduce the amount of footage lost if power is suddenly interrupted.
Next, look at the Event, Emergency or Protected folder. Back up anything important and remove files you no longer need.
If your dash cam uses parking mode, make sure it is set up for the way the camera receives power. Some parking features require a hardwire kit or compatible battery pack.
If you are not sure which setup suits your vehicle, Seven Smart Auto’s guide to different dash cam types explains front, rear and hardwired cameras with parking mode.
Cause 5: G-Sensor Sensitivity or Motion Detection Is Too High
Why It Happens
The G-sensor detects sudden movement or impact. When it detects what it thinks is an incident, the dash cam can protect the current recording so loop recording cannot overwrite it.
That is useful during a crash. Problems can start when the G-sensor sensitivity is set too high.
Potholes, speed bumps and hard braking may then create protected clips throughout the day. Over time, these locked files can take up a large amount of storage.
Motion detection can cause similar confusion on some cameras. It is normally designed for parking or stationary monitoring rather than standard continuous driving.
How to Fix It: Lower the Sensitivity and Clear Protected Files
Open the settings and check the G-sensor sensitivity. If it is set to High, try Medium or Low and test it over a few drives.
Then check the Event, Emergency or Read-Only folder. Save any important clips before removing older protected footage.
If necessary, format the card after backing up the files you want to keep.
Check motion detection at the same time. If your dash cam does not require it during normal driving, switch it off and see whether continuous recording becomes more reliable.
Cause 6: Heat, Built-In Battery Problems or Hardware Failure
Why It Happens
Dash cams sit close to the windscreen, where temperatures can rise quickly in direct sunlight.
The Victorian Government’s Better Health Channel notes that the temperature inside a parked vehicle can become 20 to 30°C hotter than the temperature outside. That extra heat can put considerable stress on electronics mounted near the glass.
Some dash cams use a built-in battery, while others use a supercapacitor. Heat can affect battery life and may contribute to shutdowns, charging problems or a camera that will not hold its settings.
The ACCC also advises keeping products with lithium-ion batteries out of hot places such as parked vehicles and stopping use if a battery shows signs of swelling, overheating or other damage. See its lithium-ion battery safety guidance for more information.
How to Fix It: Cool the Camera and Check for Hardware Problems
Move the car into the shade and allow the dash cam to cool before testing it again.
If it works normally when cool but stops recording after sitting in the sun, heat may be contributing to the problem.
If the model has an internal battery and you notice swelling, unusual heat or physical damage, stop using the device and contact the manufacturer or installer. Do not open an internal battery unless the product is specifically designed for user servicing.
If you have tested the memory card, power connection and settings but the camera still has repeated black screens or random shutdowns, an internal hardware failure is possible.
At this point, compare the repair or replacement cost. Seven Smart Auto’s guide on how to choose the right dash cam can help if replacement makes more sense.
What If Your Dash Cam Is Still Not Recording?
If none of the fixes above works, go back to basics and test one part at a time.
Start with a known-good memory card. Then test the dash cam with a reliable power cable. Disconnect accessories such as the rear camera and restore the camera to factory settings.
After resetting it, enable only the basic recording functions first.
This process can help separate a settings problem from a hardware failure.
If the camera does need replacing, you can compare Seven Smart Auto’s current range of dash cameras, including front and rear models and options with parking mode.
For hardwired systems, an auto electrician or professional installer can also check the fuse tap, earth connection and vehicle power supply.
How to Keep Your Dash Cam Recording Reliably
A dash cam can be easy to forget once it has been installed. A quick check every month can help you spot problems before you actually need the footage.
- Review recent footage. Play back a few random clips and check the picture, sound, date and time.
- Check the memory card. Look for errors and format it at the interval recommended by the manufacturer.
- Use a suitable card. Endurance cards are designed for repeated recording. Samsung, for example, states that its PRO Endurance microSD range is intended for devices including dash cams.
- Inspect the power cable. Make sure the adapter, cable and hardwired connections remain secure.
- Test parking mode. Check that it starts and stops as expected.
- Check the rear camera. Make sure footage from both cameras is being saved.
- Keep the firmware current. Check the manufacturer’s support page if the camera develops recording problems.
- Watch for battery problems. Investigate unusual heat, swelling or repeated shutdowns promptly.
- Check the camera position. Make sure the dash cam is firmly mounted and does not distract you or interfere with your view. NSW rules contain requirements for visual display units and vehicle-mounted driver aids, so check the current NSW road rules if your camera has an operating screen.
Regular checks can prevent many recording problems, but repeated power loss, damaged wiring or unexplained shutdowns may need professional attention.
If your dash cam is still not recording after you have checked the card, settings and power source, Seven Smart Auto provides professional dash cam installation in Sydney, with concealed wiring and support for compatible dash cam systems.