



Backing out of a crowded grocery store parking lot or squeezing into a tight parallel spot can test anyone’s nerves. A reverse camera eliminates those dangerous blind spots, making it one of the most practical upgrades you can add to your vehicle. But before you pull into an auto shop, you need to know what this upgrade will actually cost you.
On average, installing a reverse camera costs between $150 and $800 total, including equipment and labor. If you drive a standard sedan and want a basic setup, you might land on the lower end of that spectrum. If you own a luxury vehicle that requires complex dashboard disassembly and custom wiring, your total could comfortably cross the $1,000 mark.
To help you budget accurately, let’s break down where every dollar goes, from the camera lens itself to the technician’s hourly rate.
Average Cost to Install a Reverse Camera
The total price of a reverse camera setup depends heavily on whether you choose a simple aftermarket kit or an integrated system that looks like it came straight from the factory.
For a basic aftermarket camera paired with a small, standalone screen that mounts to your dashboard, expect to spend roughly $100 to $250 for parts and installation. Intermediate setups, such as a camera that routes directly into an existing infotainment display or a clip on rearview mirror monitor, typically cost between $300 and $600. High end installations featuring multi view cameras, night vision, and seamless factory style dash integration often cost $700 to $1,200 or more.
DIY vs. Professional Installation Costs
Choosing between doing the work yourself and hiring a professional is the single biggest factor in your total spend.
If you take the DIY route, your labor cost is zero. You will only pay for the hardware kit, which can cost anywhere from $30 for a rudimentary wireless unit to $300 for a feature packed wired system. You might also need a few basic tools, like wire strippers, trim removal tools, and electrical tape, which add about $20 to $40 if you do not already own them.
Professional installation shifts the bulk of your budget toward skilled labor. A mechanic or audio specialist will charge anywhere from $100 to $400 just for the installation service. While this raises the price, it guarantees clean wiring, a factory like finish, and a system that automatically turns on the second you shift into reverse.
Key Factors That Impact the Total Price
No two vehicles are identical, and several variable factors explain why your quote might look vastly different from your neighbor’s.
| Hardware Selection | Vehicle & Labor |
| Screen Type (Dash vs. Integrated) | Make & Model Complexity |
| Camera Quality (HD, Night Vision) | Shop Hourly Rates ($75 to $150/hr) |
| Connection (Wired vs. Wireless) | CAN bus / Custom Harnesses |
1. Type of System and Screen Integration
Where does the camera image actually show up? That decision dictates your budget.
If your car already has a modern touchscreen unit in the center console, a technician can often install an interface module that feeds the camera image directly onto that screen. These modules cost around $150 to $300 on their own, but they keep your dashboard looking pristine. If your car lacks a screen, you must either install an aftermarket head unit ($200 to $600+), buy a dashboard mounted screen ($40 to $100), or purchase a specialized rearview mirror that double functions as a display ($80 to $200).
2. Camera Quality and Special Features
Not all camera lenses are created equal. A cheap camera will show a blurry pixelated image during the day and total darkness at night.
As you upgrade camera features, hardware prices climb:
- Standard Definition (SD) entry level cameras: $20 to $40
- High Definition (HD) resolution with wide angle lenses (170 degrees): $50 to $100
- Advanced cameras with Infrared Night Vision, dynamic parking gridlines that bend when you turn the wheel, or dynamic range sensors: $100 to $250+
Investing in a higher quality sensor prevents washed out images under bright sunlight and blinding glare from trailing headlights.
3. Vehicle Make, Model, and Wiring Complexity
Think of your vehicle’s electrical network like a house. Wiring an open, unfinished basement is easy; wiring a finished, historic brownstone takes patience and skill.
Installing a camera in a compact hatchback is straightforward because the wire path from the license plate to the dashboard is short and accessible. Conversely, running wires through a large SUV, a pickup truck with a long bed, or a convertible requires extra cable length and significantly more teardown. Furthermore, European luxury brands (like BMW, Audi, or Mercedes) utilize intricate CAN bus computer networks that require specialized adapters to tap into reverse lights without triggering dashboard error lights.
Equipment Costs: What Are You Paying For?
When you buy a reverse camera kit, you are paying for two main components: the display interface inside the cabin and the signal delivery system connecting the front of the car to the back.
| Display Interface | Signal Delivery |
| Standalone Monitor ($30 to $80) | Wired System (Reliable signal) |
| Mirror Display ($80 to $200) | Wireless System (Easiest install) |
| In Dash Touchscreen ($200 to $600+) |
Standalone Monitors vs. Dashboard Displays
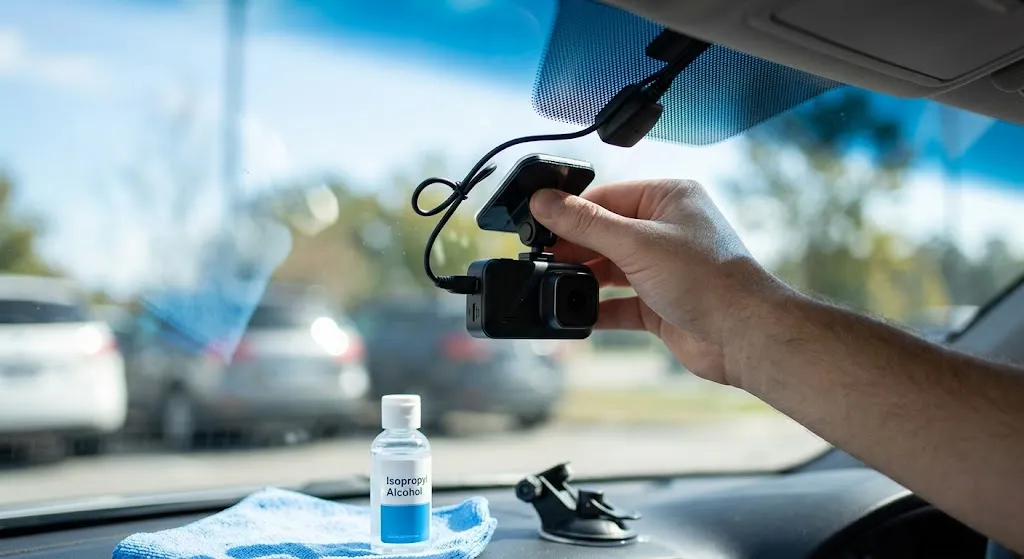
A standalone monitor sits on your dash using a suction cup or adhesive pad. They are cheap, often costing between $30 and $80, and easy to mount, but they clutter your windshield view and leave visible cables dangling over your console.
In dash touchscreen head units are the cleanest option. If you are replacing an older factory radio with a modern Apple CarPlay or Android Auto screen, expect to pay $200 to $600 for the radio alone. While this increases equipment costs, it elevates your interior, combines your navigation and music with your reverse image, and increases your vehicle’s resale value.
Wired vs. Wireless Systems
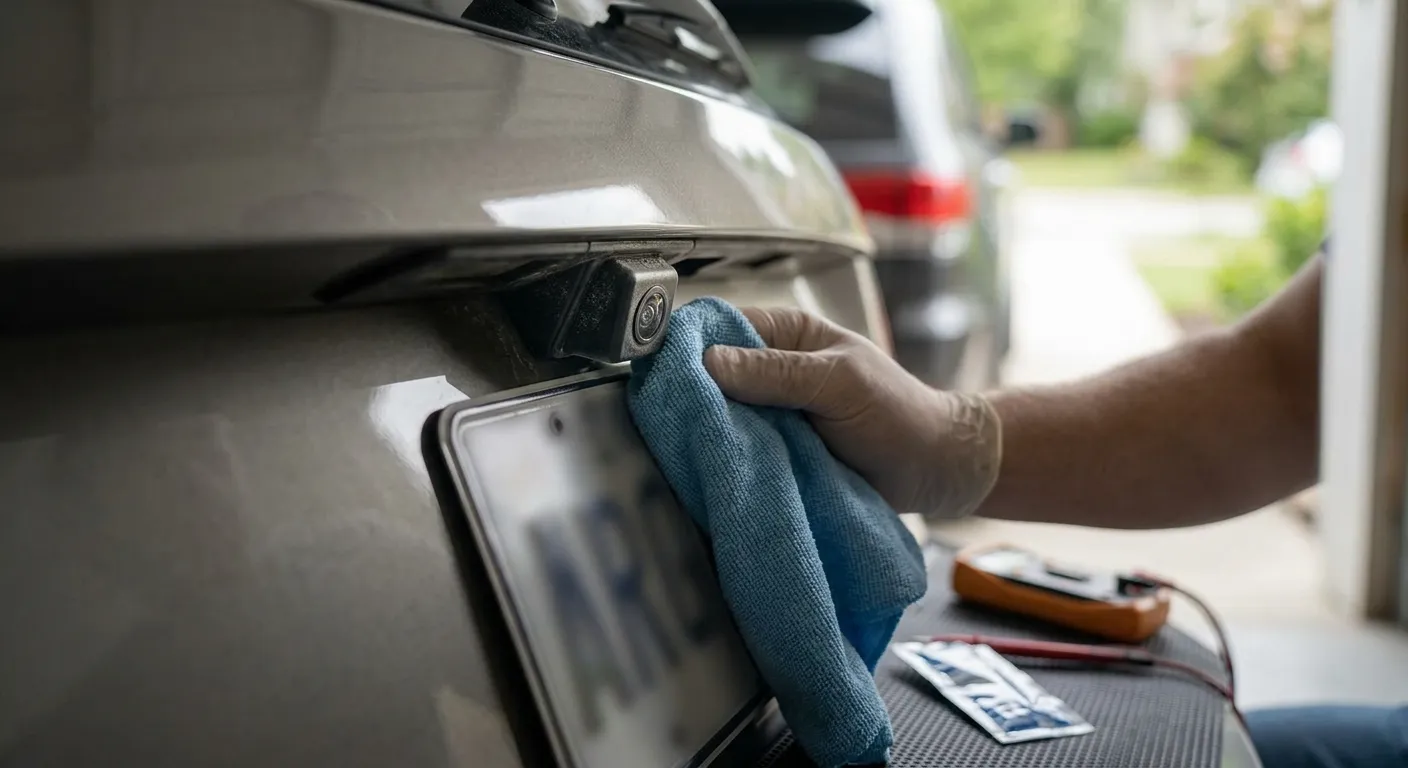
Wired systems physically connect the camera at the back license plate to the display up front via an RCA cable buried beneath your car’s interior panels and carpet. The hardware is inexpensive (often $30 to $100 total), and the video feed is rock solid with zero lag or signal interference.
Wireless systems transmit the video feed over radio frequencies or Bluetooth. They save time because you don’t have to pry up interior trim to run long wires. However, the hardware itself is slightly more expensive ($70 to $180), and cheap wireless models are notorious for lag, static, and intermittent signal loss when passing heavy electromagnetic interference.
Labor Costs and What to Expect at the Shop
Unless you are comfortable tearing down your car’s interior panels, labor will likely make up more than half of your total invoice.
Hourly Rates and Average Installation Time
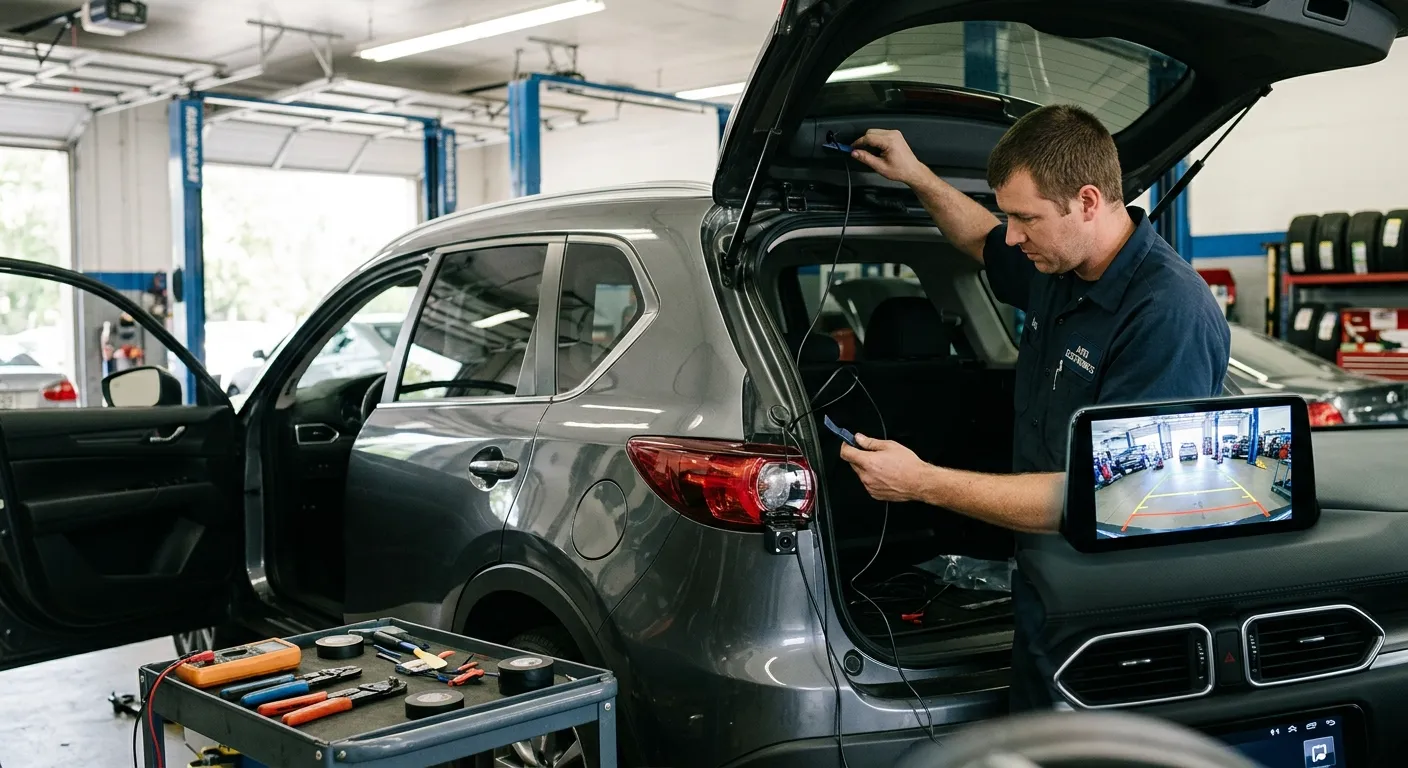
Auto electronics shops and big box retailers (like Best Buy’s Geek Squad) generally charge between $75 and $150 per hour for labor.
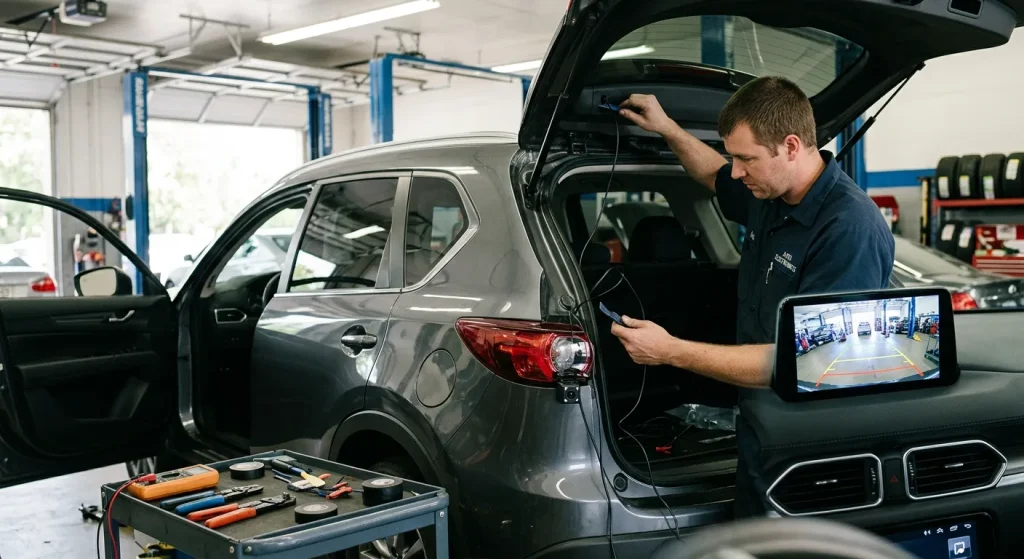
A standard installation on an average vehicle takes two to three hours. That puts the baseline labor cost right around $150 to $300. If your car requires complex dash disassembly, routing wires through a rubber tailgate boot, or flashing the car’s computer software to accept a new video input, expect the job to take four hours or more.
Additional Parts and Custom Fitting Expenses
When a shop gives you an initial estimate, ask if it covers misc installation supplies. Technicians often need minor accessories to finish the job cleanly:
- Vehicle specific wiring harnesses ($20 to $50)
- Dash kit bezels for aftermarket screens ($15 to $40)
- CAN bus relays to prevent screen flickering ($20 to $40)
- Custom mounting brackets ($15 to $30)
These small hardware additions can quietly tack an extra $50 to $120 onto your final bill if they aren’t factored into your initial quote.
Can You Save Money with a DIY Installation?
You can save a lot of money by installing a reverse camera yourself, but it depends on your comfort level with vehicle maintenance.
If you know how to safely use trim removal tools, strip wires, and use a multimeter to find a 12V power source, a DIY install is a great weekend project. A wireless system integrated into a rearview mirror monitor is the easiest DIY project: you tap the camera’s power into your reverse light bulb harness in the trunk, clip the screen over your existing mirror, and plug the mirror into your 12V cigarette lighter. You get a working setup for under $100 and a few hours of effort.
However, modern cars are packed with delicate side curtain airbags concealed behind pillar trim, as well as sensitive electronics. Prying open trim panels without proper tools can snap plastic clips, pinch hidden wires, or accidentally compromise safety systems. If you feel hesitant about running wires near airbags or cutting into your vehicle’s factory harness, paying $200 for a professional’s expertise, insurance, and warranty is money well spent.
How to Get an Accurate Quote for Your Vehicle
To avoid surprise charges, gather the right details before calling local car audio installer shops:
- Know your exact vehicle details: Have your year, make, model, trim level, and screen size ready.
- Decide on screen placement: Tell the shop whether you want an in dash display, a rearview mirror monitor, or a connection to your factory screen.
- Ask about warranties: Reputable shops back their labor with a lifetime guarantee and cover the hardware for at least one year.
- Compare at least three local quotes: Get estimates from local auto audio shops, big box retailers, and specialty mechanics.
By deciding on your preferred display option and camera features ahead of time, you can find a setup that fits your driving habits and your budget.