



You shift into reverse, glance at your dashboard expecting a clear view of your driveway, and instead see a pitch black screen, static, or a frozen image. A failing reverse camera is more than an annoyance; it robs you of one of your vehicle’s best safety features.
The good news is that backup camera failures rarely mean your entire car is experiencing a major electrical breakdown. Most issues stem from minor glitches, dirty hardware, or loose connections that you can diagnose right in your garage.
Why Has Your Reverse Camera Gone Black or Glitchy?
Modern backup cameras rely on a delicate chain of hardware and software. A signal travels from the camera at your bumper, through a wiring harness running the length of your vehicle, past a fuse block, and into your infotainment head unit. If a single link in that chain breaks, the whole system drops out.
Environmental exposure is the leading culprit. Situated on the trunk lid or bumper, the camera takes the brunt of road salt, rain, pressure washers, and minor rear end bumps. When a camera goes dark, it usually means the video feed is interrupted, power has been cut, or the display software has temporarily crashed.
Quick Safety First: Check Your Display Screen
Before grabbing a toolbox or ripping off trunk panels, determine whether the issue is isolated to the camera or affects your entire display screen.
Shift into park and check if your infotainment system operates normally for navigation, radio, or Bluetooth setup. If the whole screen is black or unresponsive, the camera itself probably isn’t the problem, your head unit is likely frozen or unpowered. In this scenario, restarting your car or performing a soft reset of the infotainment system (usually done by holding the power and volume buttons simultaneously for ten seconds) often brings everything back to life. If the screen works fine for radio and navigation but turns black only when you shift into reverse, the camera system is definitely your target.
5 Common Causes Behind Backup Camera Failures (And How to Fix Them)
When your backup camera acts up, the root cause usually falls into one of five distinct categories, ranging from effortless surface cleaning to internal electrical troubleshooting.
1. Dirty or Fogged Lenses
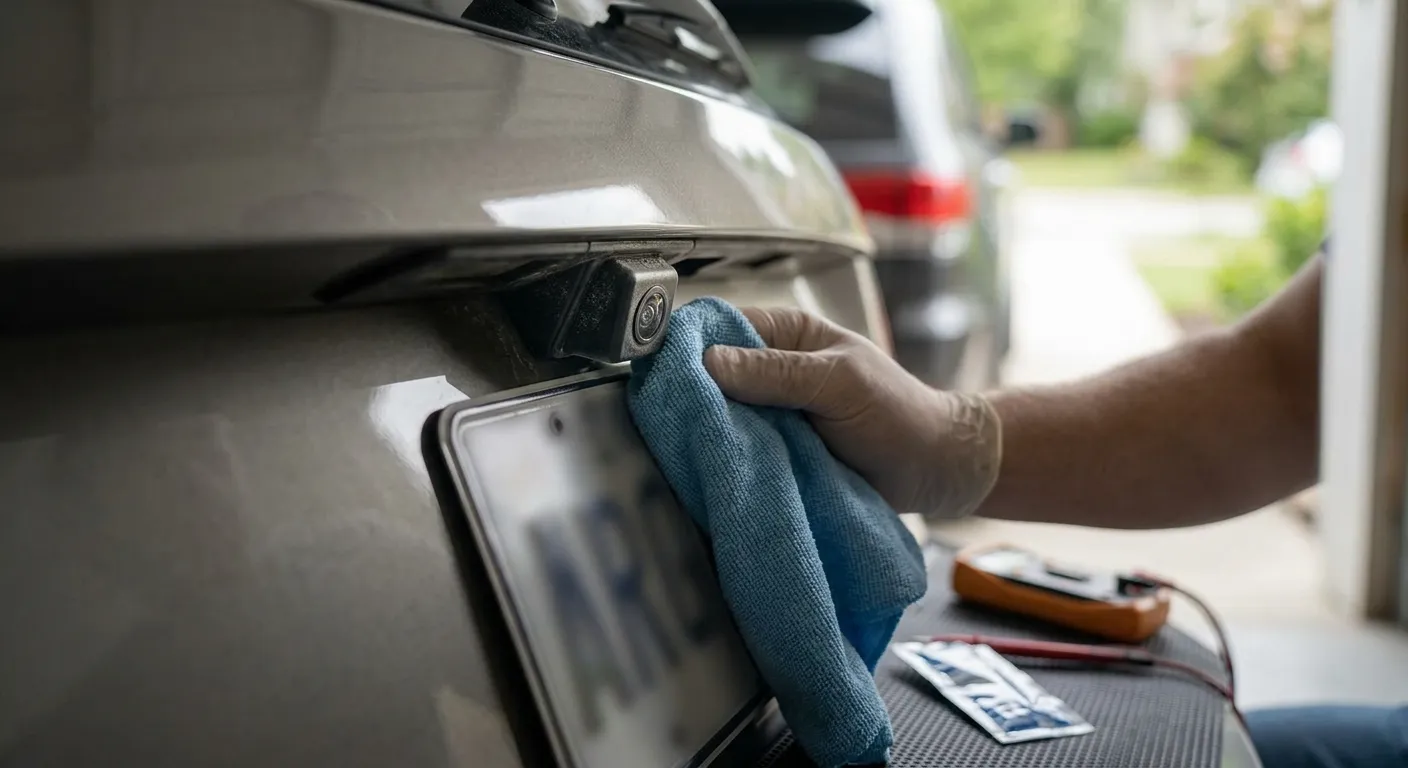
It sounds almost too simple, but a surprising number of “broken” cameras are just covered in grime. Road spray, mud, dry salt, and water spots can build up on the tiny glass lens, creating a dark, blurry, or totally obstructed image. Moisture can also creep past worn rubber seals, creating trapped condensation inside the lens housing that makes the feed look perpetually foggy.
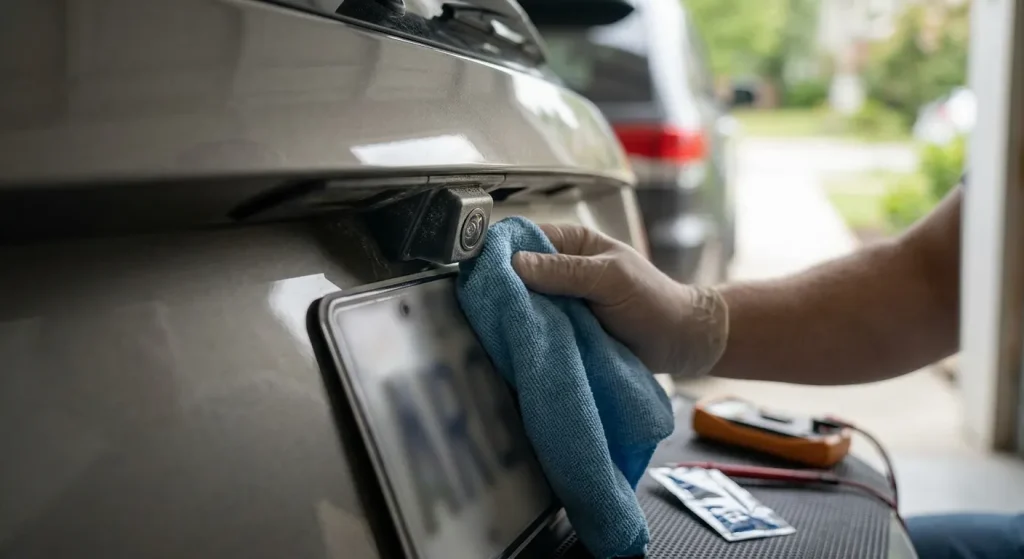
The Fix: Wipe the lens gently using a soft microfiber cloth and a mild glass cleaner or automotive detailer. Avoid using abrasive paper towels, which can scratch the plastic coating. If condensation is trapped inside the lens itself, the internal seal has degraded, and the camera housing will need to be replaced.
2. Loose, Damaged, or Corrosion Ridden Wiring
Think about how many times your trunk or tailgate slams shut over a year. That constant mechanical vibration can slowly rattle electrical connectors loose. Furthermore, the wiring harness that snakes through the trunk hinge is subjected to constant flexing, which can snap delicate copper wires inside the insulation. Exposed wires beneath the car can also corrode rapidly when exposed to road moisture.
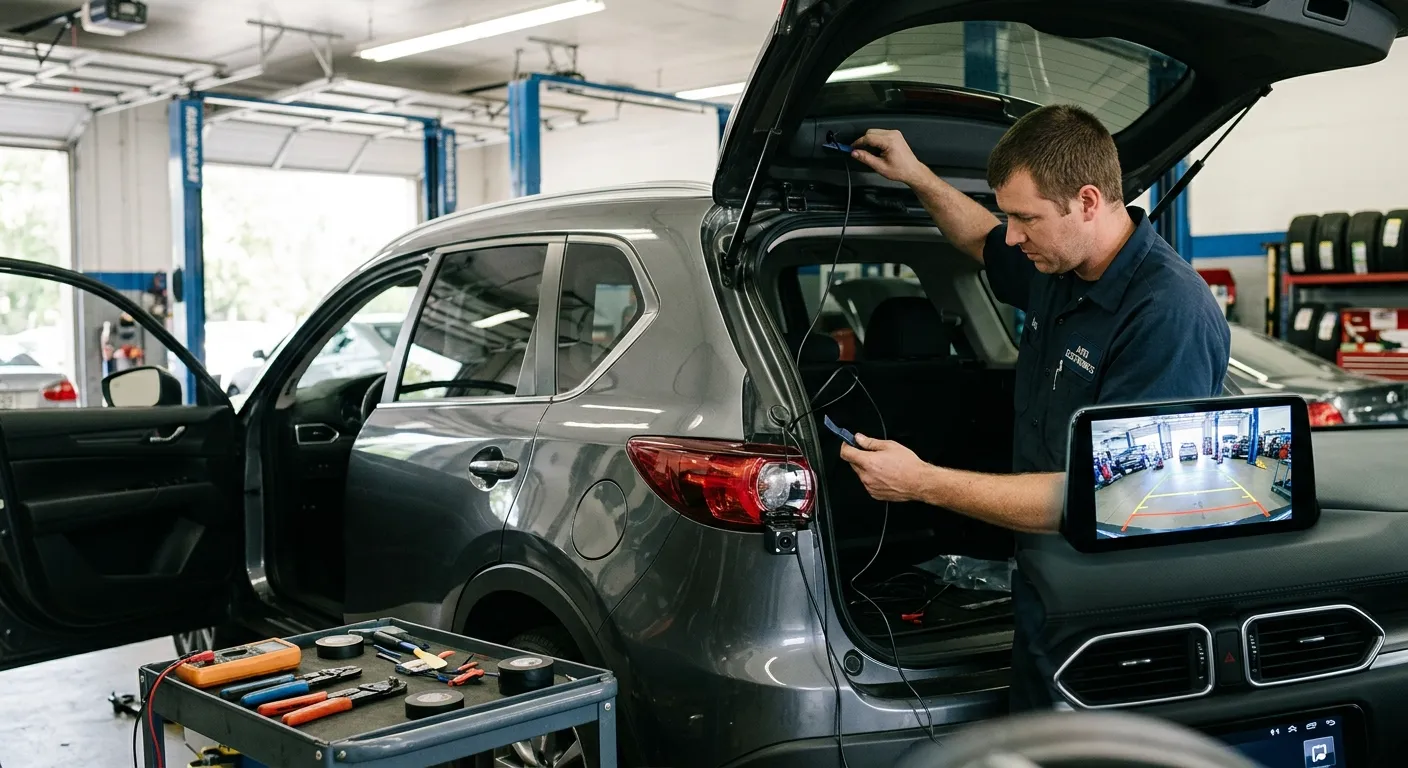
The Fix: Open your trunk and remove the interior trim panel behind the camera to inspect the immediate wiring. Look for loose plugs, frayed wires, or green, crusty corrosion inside the plastic connector pins. Unplug the connection, spray it with electrical contact cleaner, press it firmly back together until it clicks, and test the camera again.
3. Blown Fuses or Voltage Issues
Your reverse camera and the reverse lights on your tail lamps often share a circuit. If a sudden power surge occurs, the circuit’s fuse will blow to protect the delicate electronics, cutting off power entirely. Alternatively, a weak car battery or failing alternator can cause voltage drops that prevent the camera module from booting up properly when you engage the reverse gear.
The Fix: Locate your vehicle’s interior fuse box (consult your owner’s manual for its exact location). Find the fuse assigned to the backup camera or reverse lights and pull it out using a fuse puller. Look through the clear plastic body of the fuse; if the thin metal wire inside is broken or charred, replace it with a fresh fuse of the exact same amp rating.
4. Outdated Software or Glitching Infotainment Systems
Modern cars are essentially computers on wheels, and their onboard software requires occasional updates. Sometimes, a software bug causes a delay or complete breakdown in the communication signal between the transmission sensor (telling the car you are in reverse) and the screen display.
The Fix: Check your car manufacturer’s website or dashboard settings to see if an over the air software update is available. You can also force a hard reset by disconnecting your car’s negative battery terminal for 15 minutes. This clears the temporary memory cache in the car’s computers, resetting system glitches when you reconnect the battery.
5. Hardware Damage to the Camera Unit Itself
If you have verified that the wiring is intact, the fuse is good, and the screen software is updated, the camera unit’s internal sensor may have simply failed. Internal circuit boards can burn out from heat exposure, or heavy impacts from shopping carts or parallel parking mishaps can shatter the internal image sensor.
The Fix: Replacing the physical camera module is the only remedy for internal hardware failure. OEM replacement units can be purchased online or through a dealership, and physically swapping them out typically involves removing a few retaining bolts and plugging in a single factory wiring harness.
DIY Fixes vs. Professional Repair: Knowing When to Call a Mechanic
Wiping a lens, swapping a blade fuse, or spraying contact cleaner into a loose plug are straightforward tasks that any beginner can handle in under twenty minutes. Buying an aftermarket camera replacement and installing it yourself is also a manageable weekend project if you are comfortable removing plastic door panels and clips.
However, you should hand the job over to a professional if the repair involves tracing invisible wiring breaks deep under the vehicle’s floorboards or recalibrating the system. Many modern vehicles feature dynamic trajectory lines that turn with the steering wheel, as well as 360 degree surround view systems. These cameras often require specialized computer software to align correctly after replacement. If your car uses advanced driver assistance features tied to the camera feed, a certified mechanic ensures those safety parameters remain accurate.
How to Keep Your Backup Camera Working Smoothly
Preventative maintenance is the best way to avoid a dead display in the future. Make a habit of wiping down your camera lens whenever you stop to fill up your gas tank or wash your windshield. During winter, avoid using aggressive ice scrapers near the camera housing, as a hard strike can crack the protective seal and allow water inside. Finally, apply a tiny dab of dielectric grease to any exposed wiring connections behind the bumper; this nonconductive silicone grease creates a waterproof barrier that stops corrosion before it can start. Taking a few proactive steps today ensures you will always have a clear view of what lies behind you tomorrow.