




You’ve probably seen those incredible, sometimes horrifying, videos online, wild accidents, unexpected events, even meteor showers, all captured by a dash cam. But a dash cam is far more than just a source of viral content. It’s an indispensable co-pilot, a silent guardian that offers a layer of protection and peace of mind you didn’t know you needed.
How do you install a dash cam? It’s easier than you think! This guide will walk you through everything, from choosing the right device to completing a proper dash cam installation, ensuring you get the most out of your new automotive companion. In short, installing a dash cam involves mounting the camera correctly, routing the power cable safely, and choosing between plug-and-play or hardwired installation depending on your needs.
Why You Need a Dash Cam
Let’s be honest, nobody wants to be in an accident. But in the unpredictable world of driving, being prepared is half the battle. A dash cam is your car’s black box, recording the moments that matter most, and much more.
Why a Dash Cam Can Protect You After an Accident
Imagine this: you’re driving along, minding your business, when suddenly, another car cuts you off, causing a collision. The other driver claims you were at fault. Without concrete evidence, it can quickly turn into a “he said, she said” situation, leaving you in a stressful and potentially expensive battle with insurance companies. Dash cam footage is increasingly accepted by Australian insurers as a primary source of evidence to determine fault in a collision. It provides an impartial, unarguable record of what happened, proving your innocence and streamlining the claims process. It’s the silent witness that speaks volumes, saving you time, money, and a whole lot of headaches.
Deterring Vandalism and Theft
Your car is an investment, and protecting it, even when you’re not around, is crucial. Many modern dash cams come equipped with a “parking mode.” This feature allows the camera to record even when your car is turned off, often triggered by motion or impact. Think of it as a watchful eye that never blinks. If someone tries to key your car, break in, or even bumps into it in a parking lot and drives away, your dash cam can capture the incident, providing crucial identification details to law enforcement. Just the visible presence of a dash cam can be a deterrent to opportunistic criminals.
Personal Safety and Peace of Mind
Beyond accidents and theft, a dash cam contributes to your overall personal safety and mental well-being on the road. In the unfortunate event of road rage or an encounter with an aggressive driver, your dash cam records the interaction, providing a layer of accountability. For new drivers or those with anxious passengers, knowing that everything is being recorded can offer a sense of security. It’s about empowering you with documentation, ensuring that if anything unexpected happens, you have a record, allowing you to drive with greater confidence and less worry.
Choosing the Right Dash Cam for Your Needs
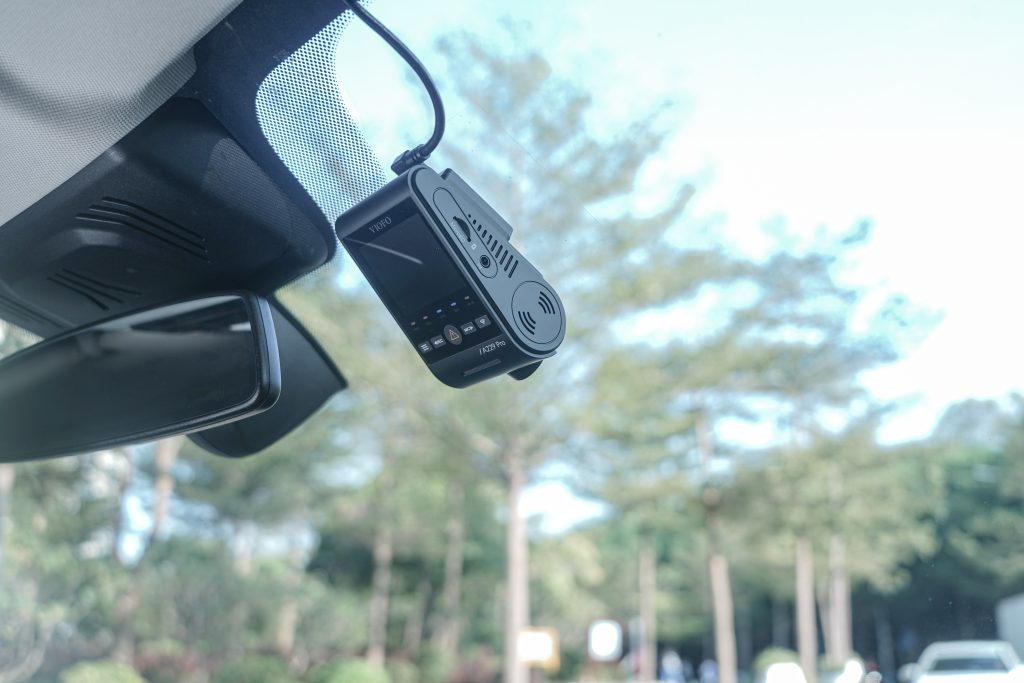
Before you even think about installation, you need to select the right dash cam. This isn’t a one-size-fits-all purchase; your driving habits, budget, and desired features will all play a role in your decision.
Types of Dash Cams
Dash cams come in various configurations, each offering different levels of coverage:
- Front-Facing: This is the most common and basic type. It records what’s happening directly in front of your vehicle. If your primary concern is documenting forward collisions, this is a solid, cost-effective choice. It’s like having eyes in the back of your head, but only for what’s ahead.
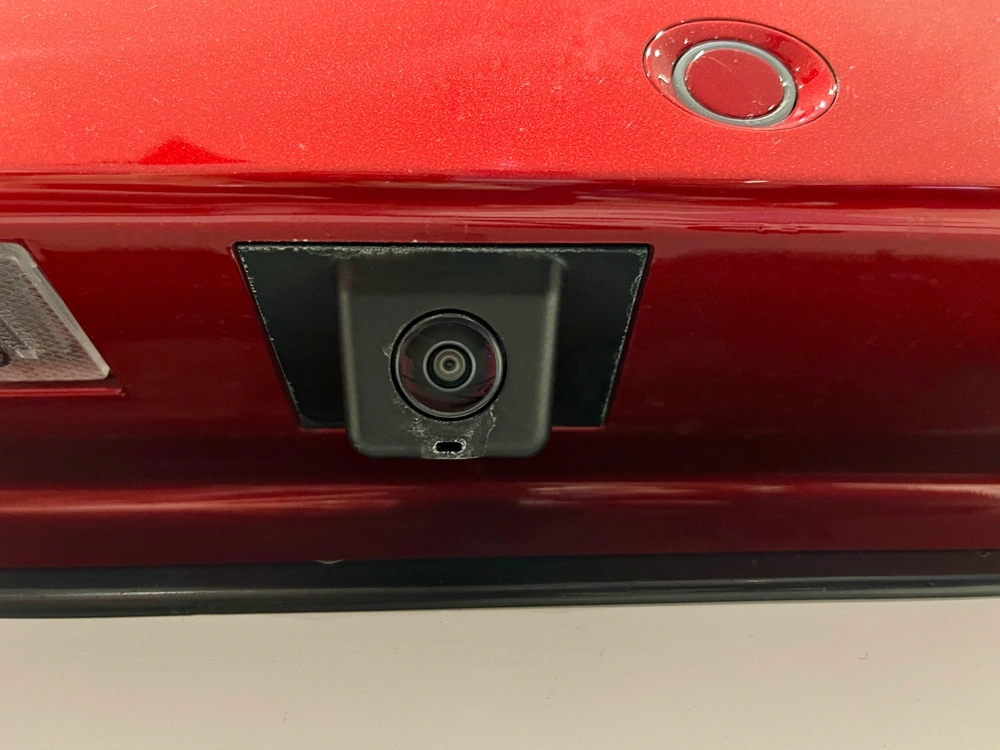
- Dual-Channel (Front and Rear): As the name suggests, these systems include a main front camera and a separate rear camera. The rear camera typically mounts on your rear window and records traffic behind you. This is invaluable for rear-end collisions, hit-and-runs in parking lots, or even capturing incidents that occur after you’ve passed them. It’s like having eyes in the back of your head, literally.
- Multi-Channel (Front, Rear, and Interior): Some advanced systems, often favoured by rideshare drivers or those with specific security needs, include a third camera that records the interior of the vehicle. This can be crucial for documenting passenger interactions, protecting against false claims, or simply monitoring activity inside the car.
Key Features to Look For
Beyond the number of cameras, several features dictate a dash cam’s effectiveness:
- Resolution: This is paramount. Look for at least 1080p (Full HD). While 720p might seem cheaper, the clarity for discerning license plates or facial features will be significantly compromised. Many premium dash cams now offer 1440p (2K) or even 4K resolution, providing exceptional detail. The higher the resolution, the clearer your evidence will be.
- Field of View (FoV): Measured in degrees, this indicates how wide an area the camera can capture. Aim for a FoV between 140 and 170 degrees for comprehensive coverage without excessive “fisheye” distortion. Too narrow, and you might miss crucial details on the periphery; too wide, and everything can look stretched and less distinct.
- GPS: An integrated GPS module records your vehicle’s speed and location, embedding this data directly into the video files. This adds an undeniable layer of credibility to your footage, proving exactly where and how fast you were going at the time of an incident. It’s like having a digital timestamp and location stamp on every moment.
- Parking Mode: As discussed earlier, this feature allows your dash cam to continue recording even when your car is off. It can be activated by motion detection, impact detection (G-sensor), or a combination of both. To utilise parking mode effectively, you’ll almost always need to hardwire your dash cam, as drawing power from the cigarette lighter socket typically only works when the car is on.
Storage Options
Your dash cam records continuously, so where does all that footage go?
- SD Cards: The vast majority of dash cams use microSD memory cards for local storage. Always choose a high-endurance, Class 10 (or U3/V30 for 4K) microSD card specifically designed for continuous recording. Standard consumer-grade SD cards aren’t built for the constant write cycles of a dash cam and will fail prematurely. The capacity you need depends on your recording resolution and how long you want to retain footage before it loops over. A 64GB or 128GB card is a good starting point for most users.
- Cloud Solutions: Some advanced dash cams offer cloud connectivity, allowing you to upload footage directly to a secure online server via Wi-Fi or a built-in cellular connection. This provides an off-site backup, which is invaluable if the camera itself is stolen or destroyed in an accident. However, these often come with subscription fees and require consistent internet access.
Gathering Your Tools: How Do You Install a Dash Cam
Now that you’ve selected your dash cam, it’s time to think about how to install it. You may be asking yourself, how do you install a dash cam? Don’t worry; the process is straightforward if you have the right tools and know-how. Here’s a pre-installation checklist that will ensure everything goes smoothly.
Essential Tools
- Trim Removal Tool (Plastic Pry Tools): These are your best friends for safely tucking cables under interior trim panels without scratching or damaging them. They’re usually made of durable plastic and come in various shapes. Don’t even think about using a metal screwdriver; you’ll regret it.
- Cable Clips/Cable Ties: These adhesive-backed clips or simple plastic zip ties help secure the power cable neatly along edges and inside panels, preventing it from dangling or obstructing anything.
- Microfiber Cloth and Glass Cleaner: Essential for properly cleaning your windshield before mounting the camera. A clean surface ensures the adhesive mount sticks firmly.
Optional Tools
These tools become essential if you opt for a hardwired installation, which we’ll cover in more detail later.
- Circuit Tester (or Multimeter): This tool allows you to safely identify “always-on” and “accessory-on” fuse slots in your car’s fuse box. Crucial for ensuring your dash cam gets power when it needs to, especially for parking mode.
- Fuse Taps (Add-a-Circuit): These clever devices allow you to safely “tap” into an existing fuse slot to power your dash cam without cutting into your car’s wiring. They provide a dedicated fuse for your dash cam, protecting both the camera and your car’s electrical system. Make sure you get the correct type (mini, low-profile mini, or ATO/ATC) for your car’s fuse box.
Planning Your Dash Cam Placement
Where you mount your dash cam is more critical than you might think. It’s a delicate balance between optimal recording, safety, and aesthetics.
Optimal Viewing Angle
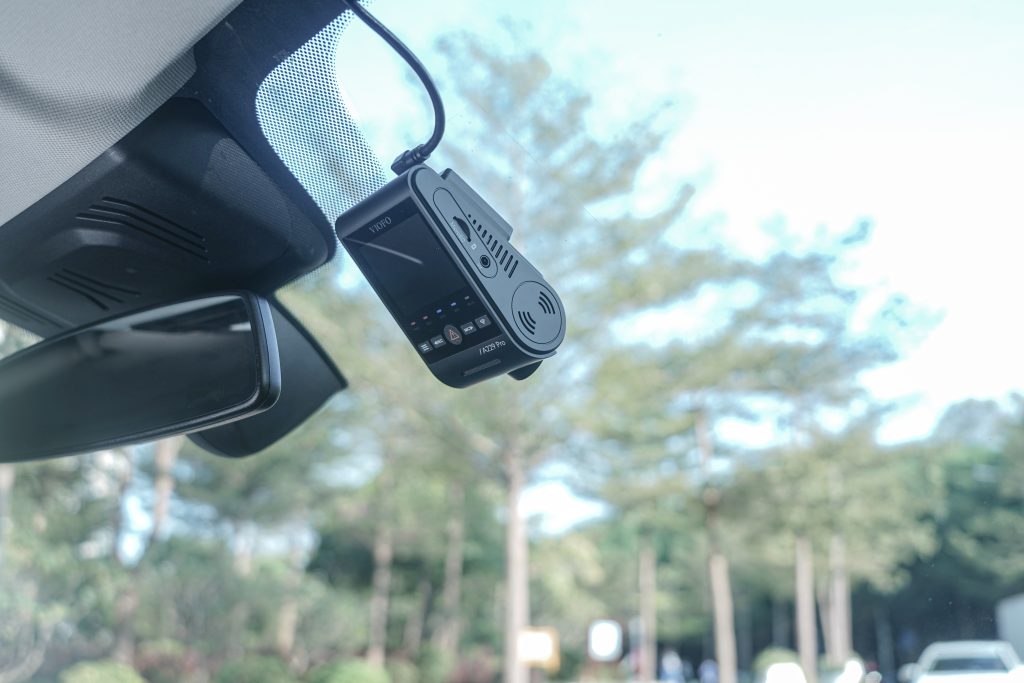
The ideal placement for your front dash cam is typically in the centre of your windshield, just behind your rearview mirror. This position offers several advantages:
- Maximum Coverage: It provides the widest, most unobstructed view of the road ahead, capturing both sides of your vehicle and key details like traffic lights and road signs.
- Discreet Installation: Being tucked behind the rearview mirror makes the camera less noticeable to you as a driver, and less obvious to potential thieves from outside the car.
- Avoiding Obstructions: Ensure it doesn’t block the driver’s view in any way or interfere with sun visors.
Before permanently sticking the mount, power on your dash cam and use its screen (or a connected app on your phone) to preview the live feed. Adjust its angle to ensure the horizon is roughly in the middle of the frame, and that the lens isn’t pointed too high (capturing too much sky) or too low (capturing too much dashboard).
Avoiding Airbag Deployment Zones
This is a critical safety consideration. Never mount your dash cam or route cables in a way that interferes with your vehicle’s airbags. Most modern cars have airbags integrated into the A-pillars (the pillars on either side of the windshield), the dashboard, and sometimes even the roof lining. Consult your car’s owner’s manual to identify these zones. Generally, keeping the camera behind the rearview mirror and routing cables around the A-pillar (by tucking them into the headliner and then down the side) is the safest approach. You want the cables to be secure, but not so tightly integrated that they impede the rapid deployment of a safety system.
Minimising Driver Distraction
While a dash cam is a crucial safety device, it shouldn’t become a distraction itself. The goal is to set it up and forget it.
- Out of Sight, Out of Mind: Position the camera so that its screen (if it has one) isn’t constantly in your peripheral vision. Most dash cams automatically turn off their screen after a few seconds, or you can manually disable them.
- Cable Management: Dangling cables are not only unsightly but can also be a distraction or even get tangled in the steering wheel or pedals. Properly routing and securing the cables is vital for both aesthetics and safety.
Step-by-Step Installation
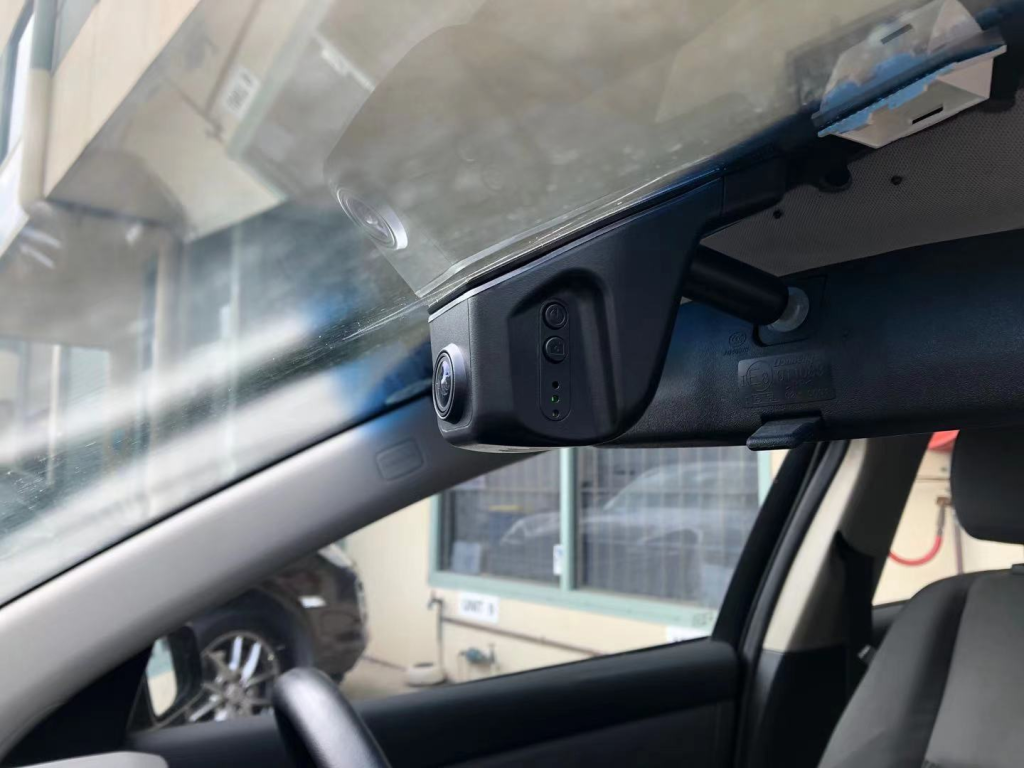
This method is the quickest and simplest way to get your dash cam up and running. It’s perfect for beginners and those who don’t need parking mode.
1. Cleaning the Windshield
This step is often overlooked but is absolutely vital for a secure mount. Grab your microfiber cloth and glass cleaner. Thoroughly clean the area where you intend to mount the dash cam. Any dust, grime, or fingerprints will compromise the adhesive, leading to your dash cam potentially falling off later. Once clean, let it dry completely. A clean surface ensures maximum adhesion.
2. Mounting the Dash Cam
Most dash cams come with either a suction cup mount or an adhesive mount. Adhesive mounts (usually 3M VHB tape) generally offer a more permanent and vibration-resistant hold.
- Peel and Stick: Carefully peel the backing off the adhesive pad (or position the suction cup) and press the mount firmly onto the cleaned windshield at your chosen “sweet spot.” Apply pressure for at least 30-60 seconds to ensure a strong bond.
- Attach the Camera: Slide or click your dash cam onto its mount. Don’t fully tighten or secure it just yet if you need to adjust the angle.
3. Routing the Power Cable
This is where your trim removal tools come in handy. The goal is to make the power cable as invisible as possible.
- Up and Over: Start from the dash cam itself. Route the cable upwards, tucking it neatly into the gap between the headliner (the fabric ceiling of your car) and the windshield. Your trim tool will help you gently pry open this gap and push the cable in.
- Down the Pillar: Continue routing the cable along the headliner towards the passenger-side A-pillar (the pillar between your windshield and front passenger door). Gently use your trim tool to tuck the cable under the A-pillar trim. Be careful not to interfere with any airbags.
- Along the Dashboard/Door Seal: Once the cable is down the A-pillar, route it along the edge of the dashboard, tucking it into the gap where the dashboard meets the door seal. You can also run it under the rubber door seal itself.
- Under the Floor Mat/Centre Console: Finally, bring the cable down to the floor, running it discreetly under the passenger-side floor mat or along the side of the centre console towards your car’s 12V cigarette lighter socket.
- Secure with Clips/Zip Ties: Use cable clips or zip ties to secure any loose sections of the cable, especially where it exits the trim or runs along the floor.
4. Connecting to Power
Once the cable is neatly routed, simply plug the USB end into the dash cam and the car charger adapter into your vehicle’s 12V cigarette lighter socket. When you turn on your car, the dash cam should power on automatically.
5. Initial Setup and Testing
- Power On: Start your car. The dash cam should power on automatically and begin recording.
- Angle Adjustment: Use the dash cam’s screen or app to fine-tune the camera’s angle. Ensure the road ahead is clearly visible, with a good balance of sky and road.
- Basic Settings: Access the dash cam’s menu and set the date and time, ensure loop recording is enabled, and adjust any other basic preferences like video resolution.
- Test Drive: Take a short drive to ensure the camera records properly and that the power connection remains stable over bumps and turns. Check the footage on the SD card to confirm everything looks good.
Advanced Installation
Hardwiring provides a much cleaner installation without visible cables, and more importantly, it enables your dash cam’s parking mode, allowing it to protect your car even when it’s off. This method requires a bit more effort and some basic understanding of your car’s fuse box.
Understanding Your Car’s Fuse Box
Your car’s fuse box is a central hub for all electrical components, protecting them with individual fuses. For hardwiring, you’ll need to find two specific types of power sources:
- Constant Power (Always On): This fuse slot provides power even when your car is turned off. It’s essential for parking mode. You’ll typically find these powering things like interior lights, power seats, or the car’s clock memory.
- Accessory Power (Switched Power): This fuse slot only provides power when your car’s ignition is on (ACC mode). It’s used to tell the dash cam when your car is running. You might find this powering your radio, power windows (when the car is on), or windshield wipers.
How to find them: Locate your car’s fuse box (often under the dashboard, in the engine bay, or in the trunk). Consult your car’s owner’s manual for its exact location and a diagram of the fuses. Then, use your circuit tester:
- Ground the Tester: Clip the ground wire of your circuit tester to a metal bolt or unpainted metal surface in your car (a good ground point).
- Test Fuse Slots: With the ignition off, touch the tip of the circuit tester to the small metal contact points on the top of each fuse in the box. If the tester lights up, that’s a constant power fuse. Make a note of which one it is.
- Repeat for ACC: Turn your car’s ignition to the ACC position (or turn the car on). Repeat the process. Fuse slots that only light up with the ignition on are accessory power fuses.
Always choose fuse slots that are rated for a relatively low amperage (e.g., 10A or 15A) and that power non-critical components. Avoid fuses for airbags, engine control, or safety systems.
Using a Fuse Tap
A fuse tap (also known as an “add-a-circuit”) is a miniature device that allows you to safely draw power from an existing fuse slot. It has two fuse slots itself: one for the original circuit and one for your dash cam.
- Identify Fuse Type: Determine the type of fuses your car uses (mini, low-profile mini, or ATO/ATC). Buy fuse taps that match.
- Select Amperage: Your dash cam’s hardwiring kit will usually come with a specific fuse (e.g., 2A or 3A) for the camera itself. Place this in the lower slot of the fuse tap. Take the original fuse from your car’s fuse box and place it in the upper slot of the fuse tap.
- Insert the Tap: Carefully remove the original fuse from your chosen constant power slot. Insert the fuse tap into that empty slot. Repeat for the accessory power slot.
- Connect Hardwire Kit: Your hardwiring kit will have wires with spade connectors. Crimp or securely attach the “constant power” wire from your hardwire kit to the wire coming off the constant power fuse tap. Do the same for the “accessory power” wire and its corresponding fuse tap.
Connecting the Ground Wire
The ground wire is usually black and has a C-shaped or O-shaped terminal. This needs to be connected to a clean, unpainted metal bolt or screw directly attached to your car’s chassis. A common place is behind a kick panel or under a dashboard trim piece. Loosen the bolt, slide the ground terminal underneath, and tighten it securely. A good ground connection is essential for the dash cam to function reliably.
Testing the Hardwire Connection
Once everything is connected:
- Dash Cam On: Your dash cam should power on immediately (or after a few seconds) when you connect the power, even if the car is off, indicating constant power is working.
- Ignition Test: Turn your car’s ignition to the ACC position, then start the car. The dash cam should transition smoothly from parking mode to regular recording.
- Ignition Off Test: Turn off your car. The dash cam should either switch back to parking mode or power off after a short delay (depending on your dash cam’s settings and hardwire kit’s logic).
- Check for Error Lights: Ensure no warning lights appear on your dashboard related to fuses or electrical systems.
Benefits of Hardwiring
Hardwiring, while a bit more involved, offers significant advantages:
- Parking Mode Functionality: This is the primary reason for hardwiring. Your dash cam can continuously monitor your vehicle for impacts or motion when parked, providing crucial evidence for hit-and-runs or vandalism.
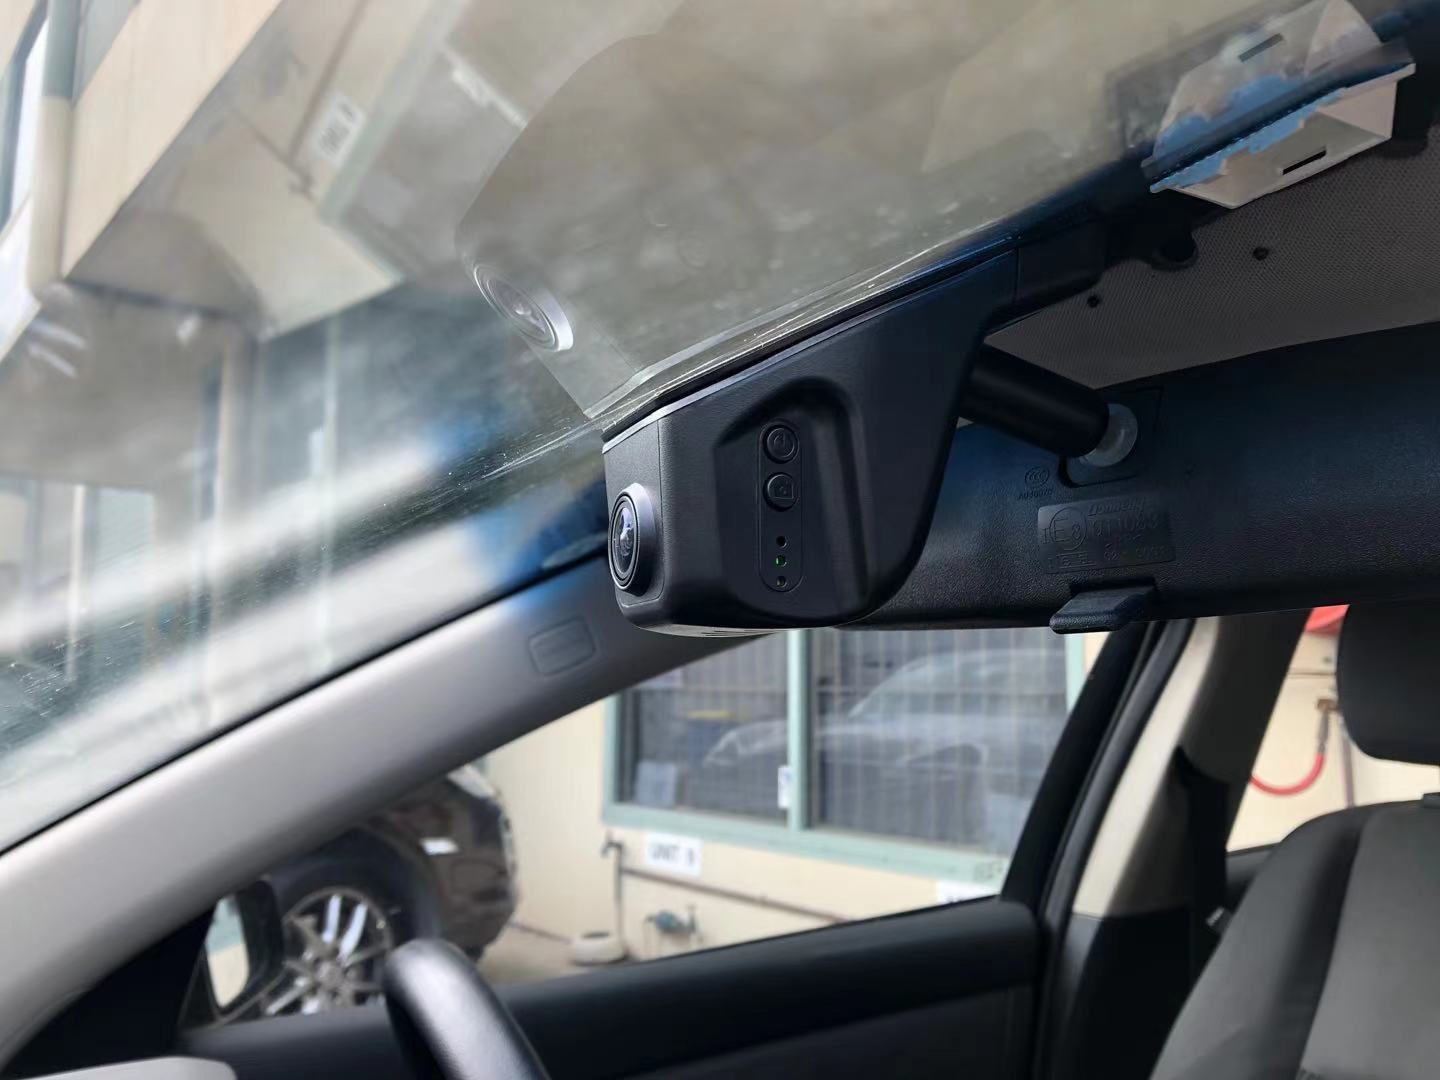
- Clean Installation: No unsightly cables dangling from your cigarette lighter. All wires are neatly tucked away, creating a factory-installed look.
- Free Cigarette Lighter Socket: Your 12V socket remains free for charging other devices or using other accessories.
- Automatic Operation: The dash cam powers on and off automatically with your car, and seamlessly transitions to parking mode without any manual intervention.
Installing a Rear Dash Cam (Dual-Channel Systems)
If you have a dual-channel system, you’ll also need to install the rear camera. This usually involves routing a long data/power cable from the front unit to the back.
Mounting the Rear Camera
- Placement: The rear camera typically mounts on the top centre of your rear window. Again, clean the glass thoroughly before applying the adhesive. Position it so it has a clear, unobstructed view of the road behind you.
- Cable Routing (Front to Back):
- Start from the front dash cam. Route the rear camera cable upwards, tucking it into the headliner alongside the front camera’s power cable.
- Continue along the headliner towards the passenger side.
- Once you reach the B-pillar (between the front and rear doors), gently pry the trim and tuck the cable down the B-pillar, then along the roof line above the rear passenger doors.
- When you reach the C-pillar (the pillar at the back of the car, next to the rear window), carefully tuck the cable down that pillar and then route it along the rear parcel shelf or the top edge of the rear window trim to the camera.
- For hatchbacks or SUVs, you’ll need to route the cable through the rubber grommets or conduit that carries other wires to the liftgate. This can be the trickiest part, often requiring significant care to avoid damaging existing wires. Take your time, and if unsure, consult a professional.
- Secure and Test: Use cable clips to secure any loose sections. Power on your system and check the live view from the rear camera to ensure its angle is correct, and it’s recording properly.
Connecting to the Front Unit
The rear camera usually connects directly to the main front dash cam unit via a dedicated cable. Simply plug one end into the rear camera and the other into the designated port on the front camera. This cable carries both power to the rear camera and sends its video feed back to the front unit for recording.
Configuring Your Dash Cam Settings for Optimal Performance
Once installed, taking a few minutes to configure your dash cam’s settings will ensure it performs optimally and records exactly what you need.
Loop Recording
Loop recording is a fundamental feature of all dash cams. Since the SD card has finite space, loop recording ensures that when the card is full, the oldest unlocked footage is automatically overwritten by new footage. This means you never have to manually delete files.
- Set Your Clip Length: You can usually set the video clip length (e.g., 1, 3, or 5 minutes). Shorter clips are easier to manage and transfer, but longer clips mean fewer individual files. Choose what suits you.
- Emergency Recording (Locked Files): When the G-sensor detects an impact, it “locks” the current video clip, preventing it from being overwritten. This is crucial for preserving accident footage.
G-Sensor Sensitivity
The G-sensor (gravitational sensor) detects sudden impacts or rapid deceleration/acceleration. When triggered, it locks the current video file, protecting it from being overwritten by loop recording.
- Adjust Sensitivity: Most dash cams allow you to adjust the G-sensor’s sensitivity (low, medium, high).
- Too sensitive: It will lock files for every bump, pothole, or hard brake, quickly filling your SD card with protected files.
- Not sensitive enough: It might miss locking footage for minor incidents.
- Finding the Sweet Spot: Start with a medium setting and adjust as needed after a few days of driving. You want it sensitive enough to catch genuine incidents, but not so sensitive that it’s constantly locking files unnecessarily.
Parking Mode Settings
If you’ve hardwired your dash cam, configuring parking mode is essential.
- Motion Detection: The camera records when it detects movement around your car. You can usually adjust the sensitivity and detection area.
- Impact Detection: The camera records when the G-sensor detects an impact (e.g., someone bumps your car).
- Time Lapse: Some dash cams offer a time-lapse parking mode, recording continuously at a very low frame rate, which conserves power and storage while providing a full record.
- Power Cut-off: Hardwire kits often have a low-voltage cut-off feature to prevent draining your car’s battery completely. Set this according to your preference and your car’s battery health.
Date and Time Synchronisation
Always ensure the date and time are correctly set. This timestamp is vital evidence. Many GPS-enabled dash cams will automatically sync the time, but it’s good practice to double-check. Don’t forget to adjust for daylight saving if necessary!
Maintenance and Troubleshooting
A dash cam is a set-it-and-forget-it device for the most part, but a little routine maintenance goes a long way in ensuring its reliability.
Regular SD Card Formatting
This is perhaps the most important maintenance task. Dash cams write and rewrite data constantly, which can lead to “fragmentation” and eventually corrupt the SD card, causing recording errors or card failure.
- Format Regularly: Aim to format your SD card directly within the dash cam once every 2-4 weeks (or monthly). This cleans the card and prepares it for optimal performance.
- Avoid PC Formatting: While you can format the card on a computer, formatting it within the dash cam ensures it’s set up in the camera’s preferred file system.
- Replace When Needed: Even high-endurance SD cards have a limited lifespan. If you start experiencing frequent recording errors or the card takes a long time to read/write, it’s time to replace it.
Cleaning the Lens
Just like your car’s windshield, the dash cam lens can get dirty with dust, fingerprints, or even condensation. A smudged lens will result in blurry or hazy footage, rendering it less effective as evidence.
- Gentle Cleaning: Use a soft, clean microfiber cloth (the kind used for eyeglasses or camera lenses) to gently wipe the dash cam lens.
- Avoid Harsh Cleaners: Do not use abrasive cleaners or paper towels, as these can scratch the lens. A little breath fog or specialised lens cleaner is usually sufficient.
Common Issues and Simple Solutions
- Camera Not Turning On:
- Cigarette Lighter Power: Check if the 12V socket is working (try plugging in a phone charger). Check the fuse in the cigarette lighter plug itself.
- Hardwired: Check the fuses in your fuse taps and ensure the ground wire is securely connected.
- Recording Errors/Skipping Frames:
- SD Card: Format the SD card. If the problem persists, replace it with a new, high-endurance card.
- Power Supply: Ensure the camera is receiving consistent power.
- G-Sensor Too Sensitive/Not Sensitive Enough: Adjust the G-sensor sensitivity in the camera’s settings.
- Dash Cam Overheating: While most dash cams are designed for car interior temperatures, extreme heat can cause issues. Ensure it’s not directly in prolonged sunlight when parked. Some cameras will automatically shut down if they get too hot to prevent damage.
- Date/Time Incorrect: Check settings. If GPS-enabled, ensure it has a clear view of the sky to acquire a signal.
Drive Confidently with Your Dash Cam in Place
Congratulations! You’ve successfully installed and configured your dash cam. You now have a reliable, silent witness guarding your vehicle, documenting your journeys, and providing an invaluable layer of protection. This small device offers immense peace of mind, knowing that in the unpredictable world of driving, you’re prepared for whatever comes your way. Drive confidently, knowing your dash cam has your back.
Wondering how do you install a dash cam? It’s actually a simple process that can make a big difference in your driving experience. For step-by-step guidance on installing your dash cam, make sure to check out helpful tips and tutorials available online or visit experts who can assist you.
Seven Smart Auto provides expert dash cam advice, quality products, and professional installation support to help you drive with confidence.